Windows Terminal - Git Bash and Environment Settings
This is a short note of how I set up my Windows PC development environment. Below is the Straight To The Code Snippets without any long comments and explanations.
Windows Terminal - Git Bash
You should have Git installed on your Windows PC. If you haven't, you can download it from Git SCM.
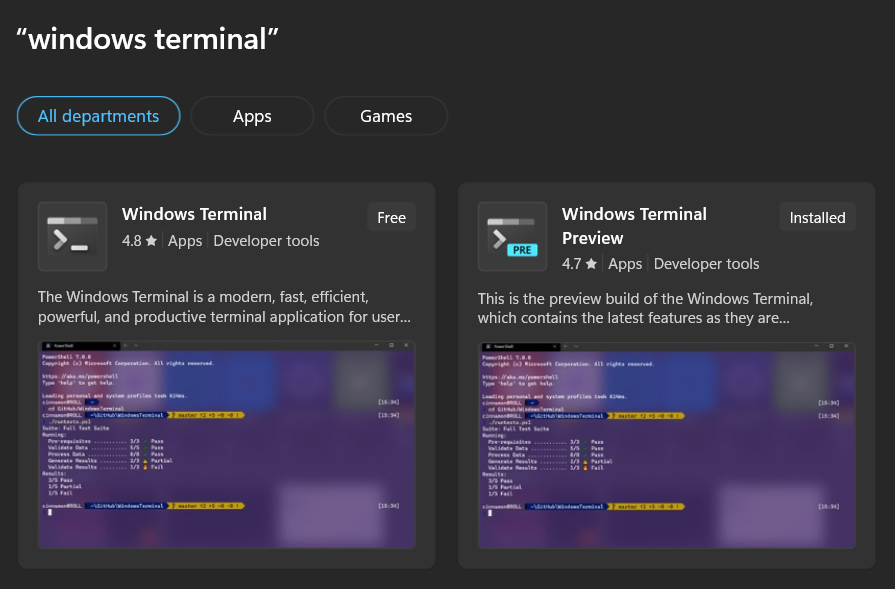
- Open Microsoft Store
- Search for
Windows Terminal - Click get whether it's the Windows Terminal or Windows Terminal Preview version.

- Open Windows Terminal Settings
- From the sidebar, enter
Startupand change theDefault ProfiletoGit Bash. - Optional: change
Starting Directoryto.so the Windows Terminal started where it is invoked. - And you're done! You can now open Windows Terminal with Git Bash as the default shell. You can also customize the terminal appearance and behavior as you like in the setting.
💡 Tip
For starting in current working directory, you can click on the address bar of Windows Explorer, type wt and press Enter. It will open Windows Terminal in the current directory just like what you set in the Starting Directory setting.
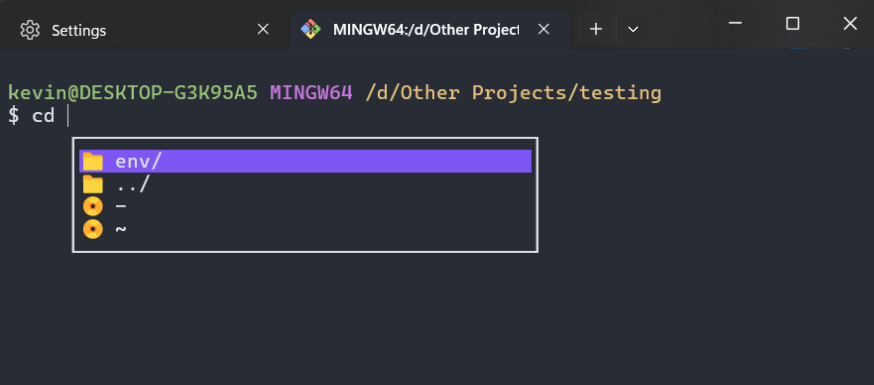
Inshellisense Plugin
Reference: Inshellisense
Node.js Version Requirement
As of writing, Inshellisense requires Node.js 20.X, 18.X, 16.X (16.6.0 >=) to work. Make sure you have suitable Node.js installed on your Windows PC. Download it from Node.js Download.
Installation
npm install -g @microsoft/inshellisenseQuick Start
| Action | Command |
|---|---|
| Start | is |
| Stop | exit |
| Check If Inside Inshellisense Session | is -c |
Setting in Windows Terminal
- After installed inshellisense, open Windows Terminal Setting.
- From sidebar, in the section Profiles, click
Git Bash - Change the
Command Lineto:bashpath/to/bash.exe -i -l -c "is -s bash"bashC:/Program Files/Git/bin/bash.exe -i -l -c "is -s bash" - Restart Windows Terminal
- Done! Inshellisense is now automatically started when you open Windows Terminal with Git Bash.

PATH Setting
If you want to call some executables from the command line or Run dialog (Win + R), you can add the path to the executable to the PATH environment variable. This setting is very useful when I have multiple python versions installed on my Windows PC, so I can call python310, python311, etc. from the command line.
- Search in windows "Environment variables"
- Click environment variables
- On the upper section (user variables), double click Path
- Enter the folder where exe file is in
- Example,
C:\Users\kevin\AppData\Local\Programs\Microsoft VS Code Insiders\binforcode-insisders.exefile. - Done! Now you can call the executable from the command line just by typing the executable name (without the
.exeextension).

Aliases Creation
It is so infuriating when we need to type long command, such as when I want to invoke the code-insiders . for opening the current directory in Visual Studio Code Insiders. To make it easier, let's create an alias for the command.
- Open
.bashrcfile in your user directory, usually it is inC:\Users\<your_user_name>\.bashrc. - You also open it from terminal by typing
notepad ~/.bashrc,code-insiders ~/.bashrc, or other text editor you have. - Create aliases as many as you like, below is the usual aliases I created:bash
# Command Aliases alias codi='code-insiders' alias poetry='python311 -m poetry' alias exp='explorer .' alias ave='source ./env/Scripts/activate' alias avve='source ./.venv/Scripts/activate' # Directory Aliases alias htdocs='cd d:/xampp/htdocs' - Save the file
- Restart the terminal.
- Done! Now you can use the aliases you created.
